Peach season is here and there are two things I plan to do with my delicious peaches:
- Make the easiest peach crumble, recipe here
- Make homemade peach jam
Is there anything better than homemade jam, I think not! Homemade jam is so much more flavorful and fresh tasting than anything store bought. I’ve only made jam once before so I am really no expert but that goes to say that jam is pretty easy to make, it just takes a little time but the reward is being able to enjoy fresh peach jam in the winter when you’re missing those juicy peaches.
I remember my first time making jam we took the Ferry over to Whidbey Island in Washington and did the u-pick raspberries at Dugualla Bay Farms. These raspberries were delicious and I literally made the best jam ever. But now that I am in Texas peaches are THE fruit of the season. So peach jam it is.
I did some research & hunted the internet for peach jam recipes. There are a lot with pectin but I do not want to use any thickening agents. So between 2-3 recipes I found online I came up with my own version using some honey to cut back on the refined white sugar.
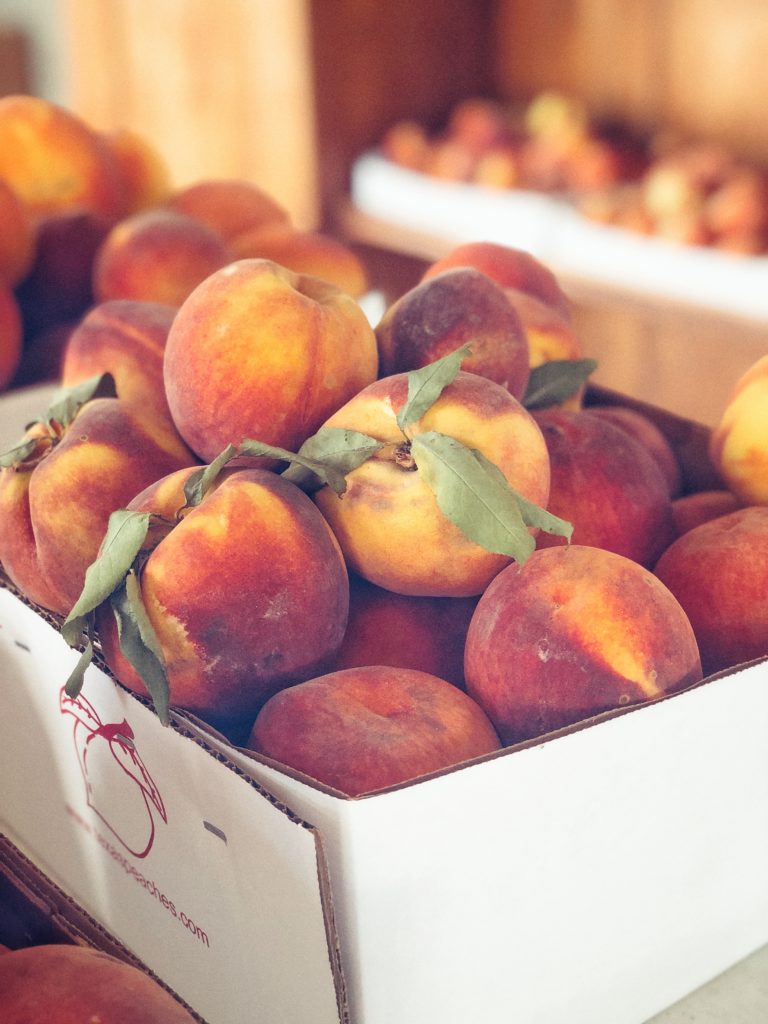
{ see my post about my visit to Vogel Orchards, here }
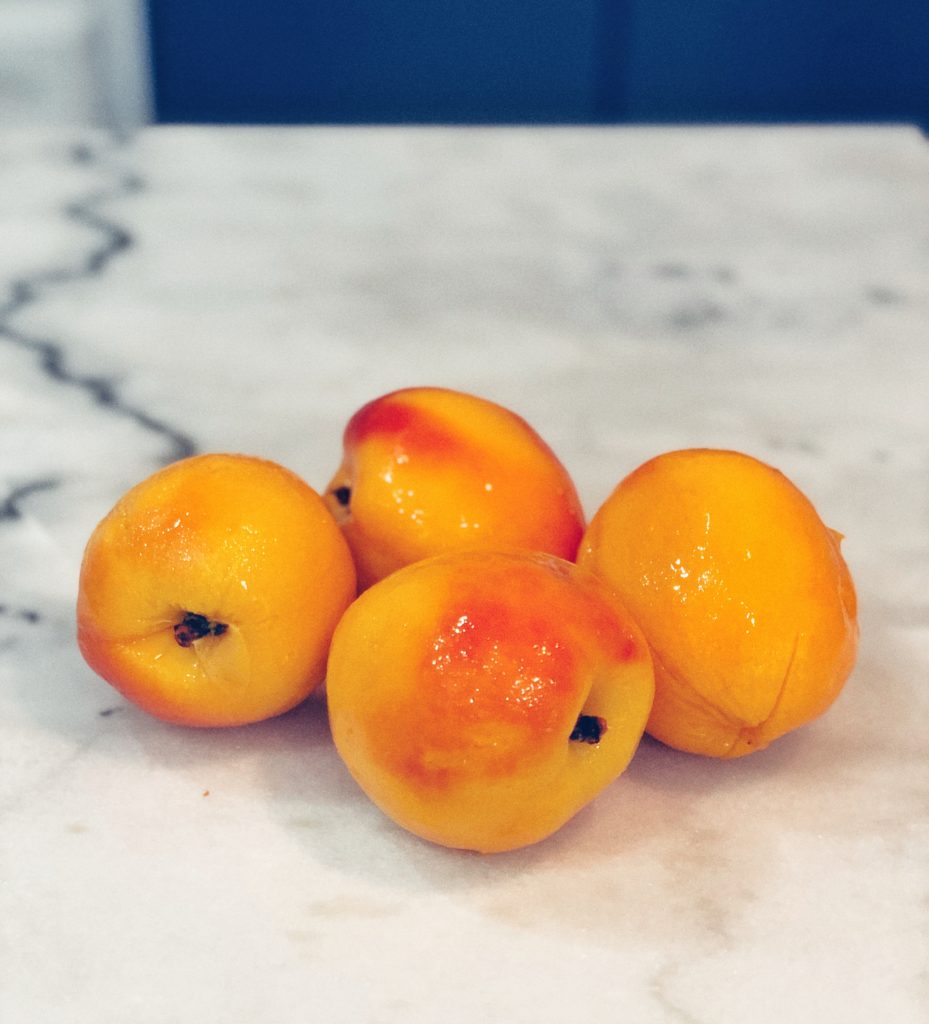
The peaches I bought were from Vogel Orchards in Fredericksburg Texas. I bought the loring peaches which are on the sweeter side which is perfect for jam. Plus I was able to keep the added sugar fairly low because the peaches have a higher sugar content already.
The result?
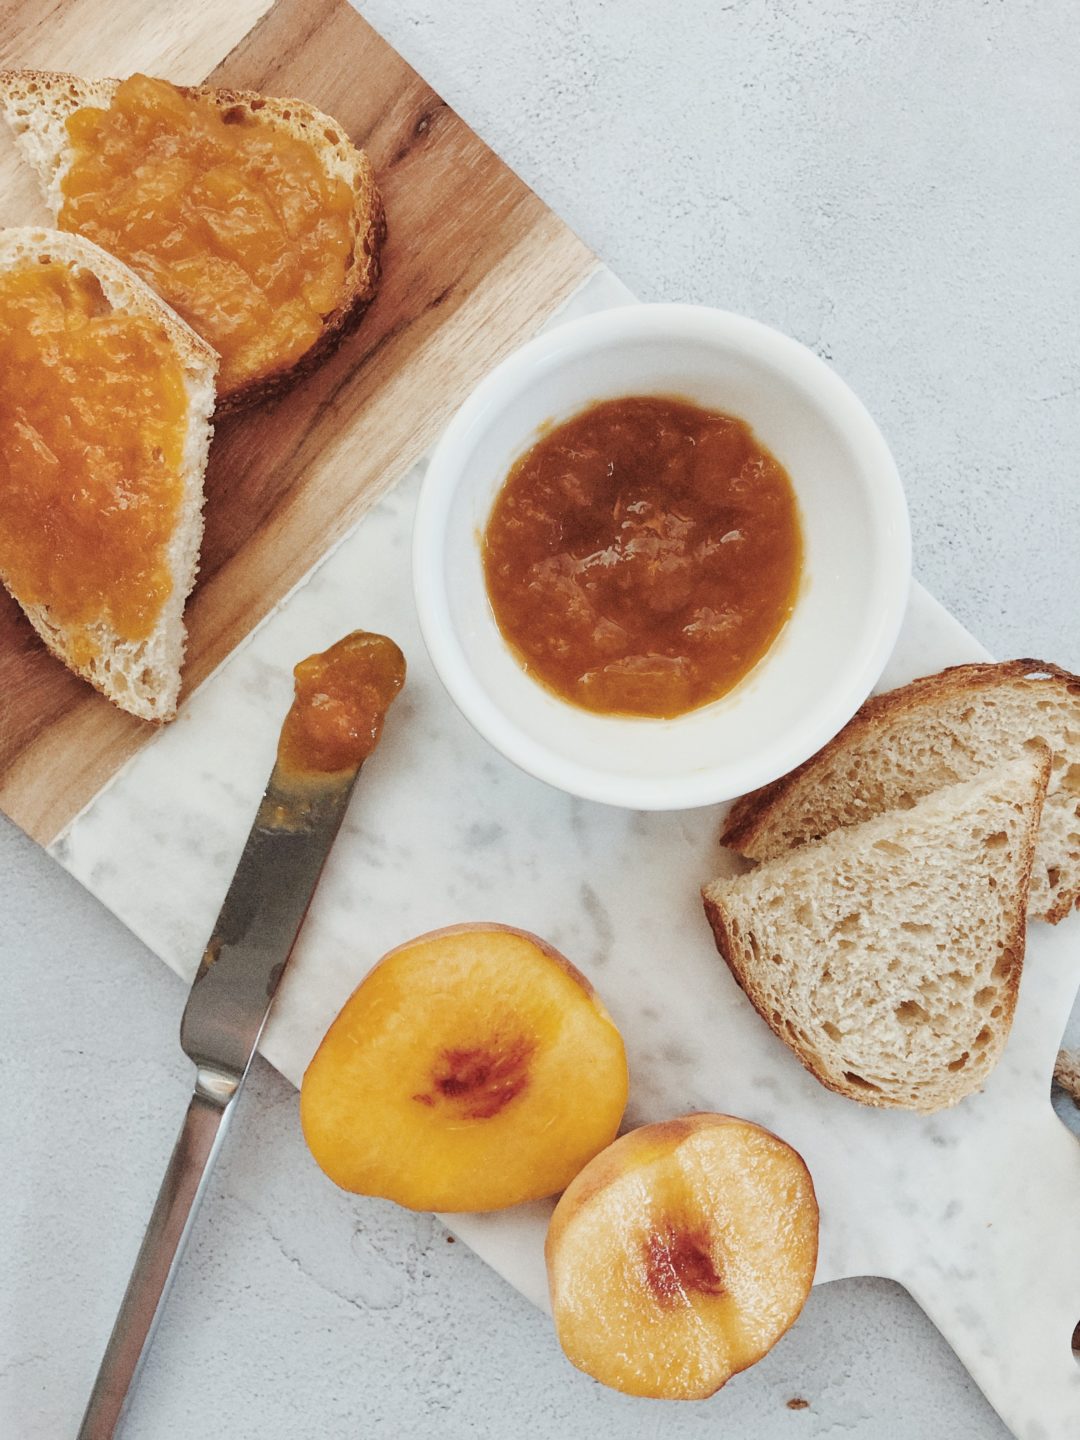
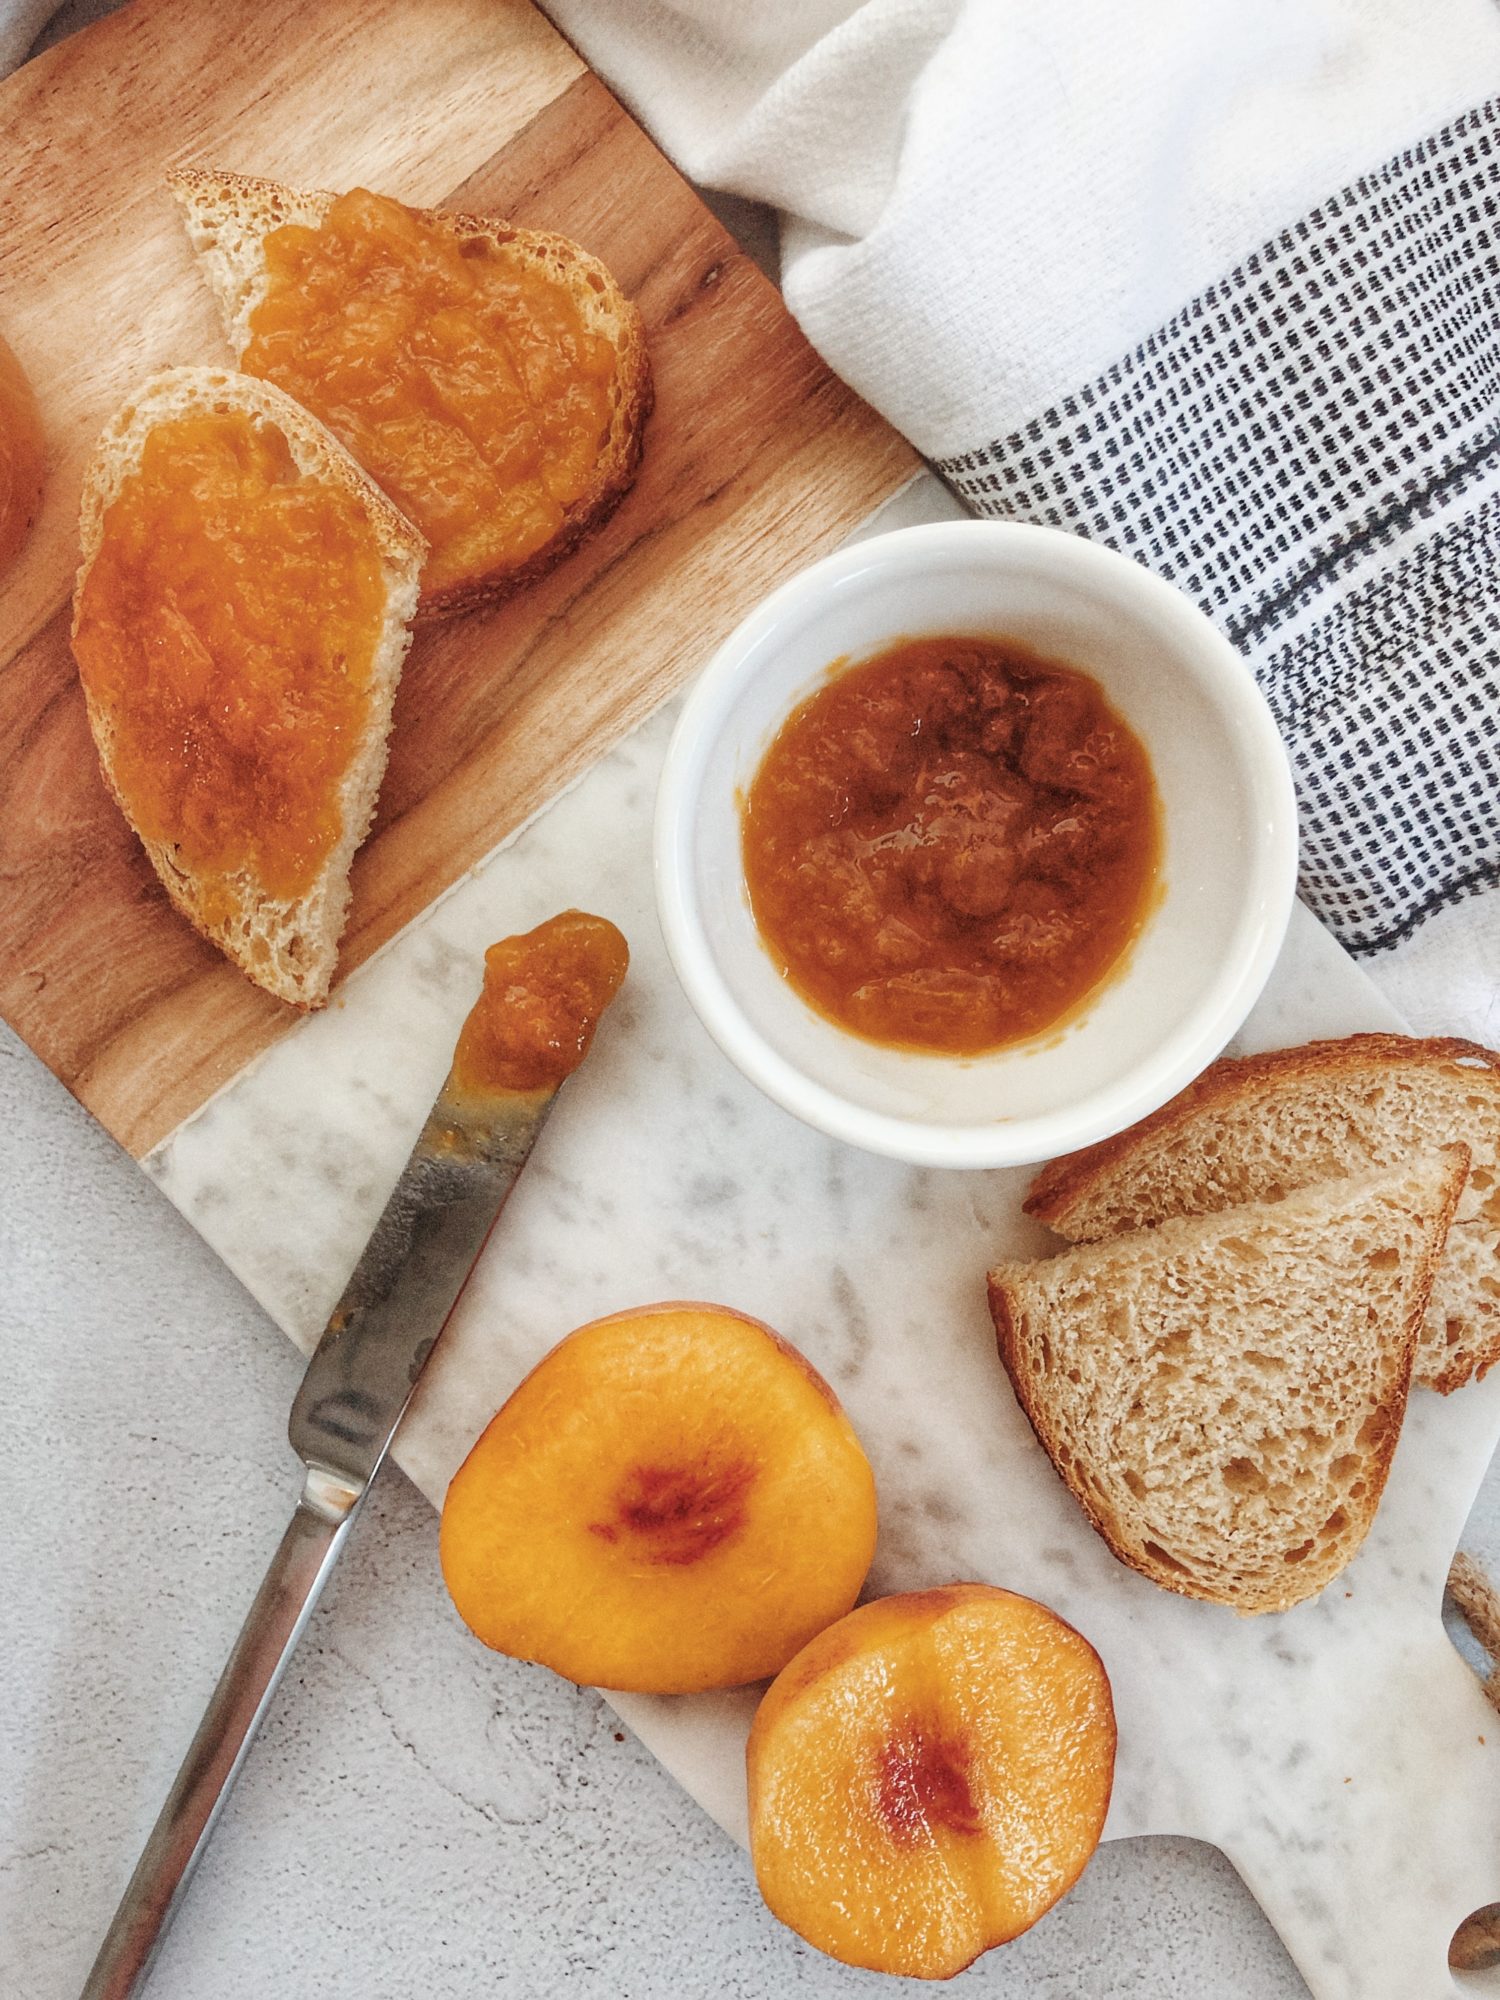
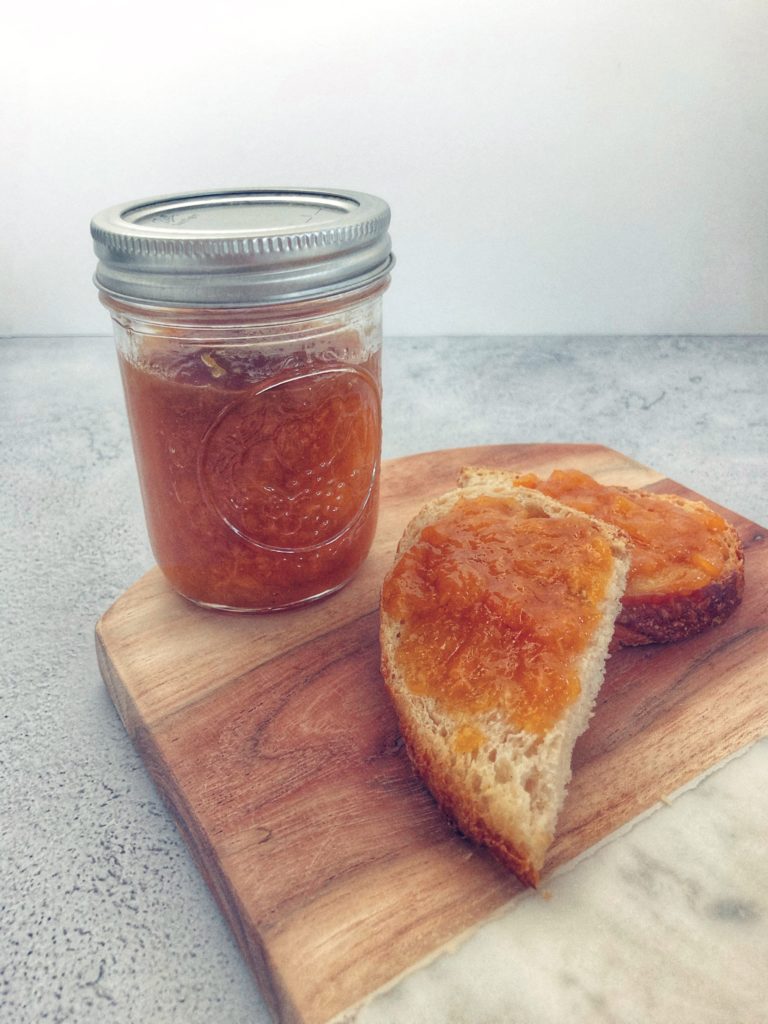
Amazing! The peach really shines through and the honey adds a nice touch. The texture is great too, thick and jammy with little chunks of peach throughout. The whole lemon I juiced + zested is almost undetectable which is fine as it doesn’t take away from the peach flavor but if you want more tartness I guess you could do two lemons.

This peach jam will be delicious on toast, pancakes, waffles, over vanilla ice cream or with cheese & crackers! Plus, these little jars of jam make the best gifts. Never to early for Christmas gift prepping is it?!
I hope you enjoy the recipe and if you make it please let me know by using #platefulnutrition
Want more peach recipes? Check out my recipe for the Simple Peach Crumble
Products used for this recipe:
PREPARING GLASS CANNING JARS:
Using a large deep pot check that you jars fit to allow for about 1/2 inch water above.
Bring water to simmer, add your lids for 5 minutes. Remove lids and set aside to dry.
Now bring same water to boil.
Once boiling carefully add your 8 jars without lids, allow to boil for 5 minutes. Remove and set aside to dry.
Now your jars and lids are ready for canning.
REMOVING SKIN FROM PEACHES:
In a large pot bring water to boil.
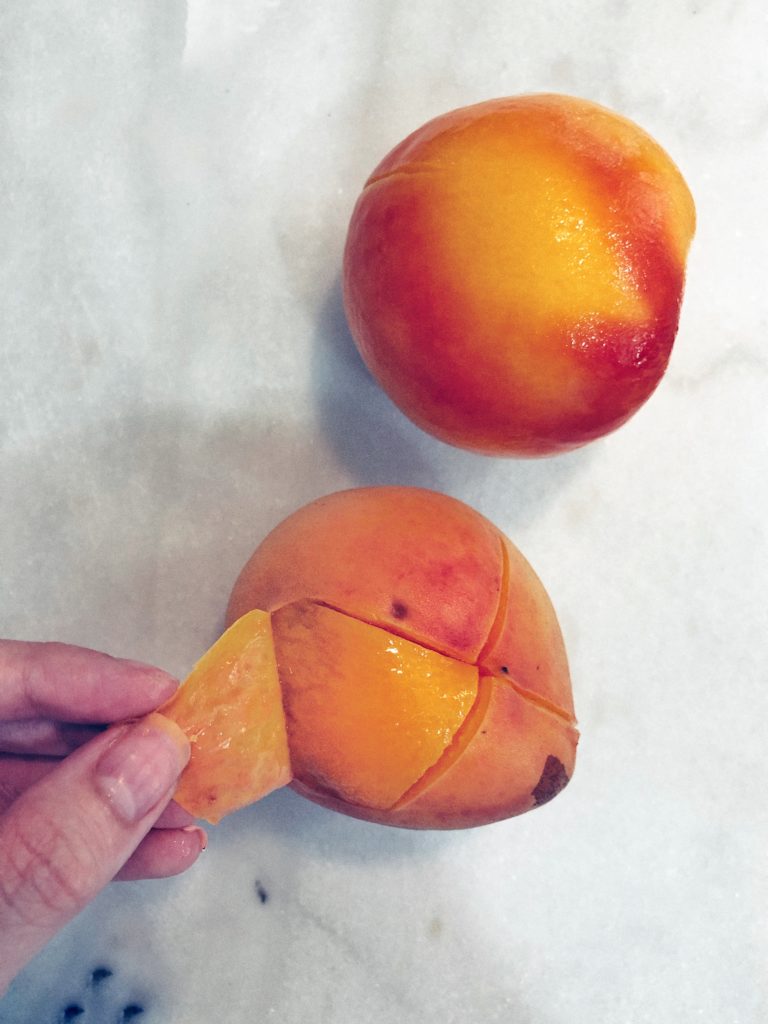
On each of the peaches cut an X on the bottom. This will help the peeling process later.
Prepare a large bowl with water and ice to create an ice bath.
Once the water is boiled add your peaches. After about 1 minute remove peaches and place immediatey in ice bath.
Now you can remove the skin from each peach easily, starting at the bottom where you made the X cut.
Now that the skin is removed from the peaches, core all your peaches. Take 4 of your peaches and pulse in a food processor allowing some chunks to remain. With the other 6 peaches chop into small pieces.
In a large heavy bottom sauce pan, combine peaches, sugar, honey and lemon juice and let sit 15 minutes and up to 1 hour.

Bring the mixture to a full boil over medium-high heat, stirring occasionally. Reduce heat to medium and allow to simmer about 1 hour, until liquid has reduced significantly, is thick and jelly-like. As the jam begins to thicken you'll want to stir more frequently to prevent burning.
While your jam is hot, carefully ladle jam into your prepared glass jars, leaving about 1/4-1/2 inch from the top. Place the cap and gently screw on the lids, leaving them a little loose.
***I filled 7 1/2 jars with this recipe
Return your large pot of water to boil once more. Once boiling, gently submerge your filled jars making sure there is about 1/2 inch water above and boil for 10 minutes. Remove from boiling water and set aside to cool. You will hear pops as your lids seal. Once cooled, tighten you lids.
NOTE:
To check that your lids have sealed properly, gently press down on the center of the lid. If it pops up and down, its not sealed. If that should happen, just store the jars in the fridge and use within 3 weeks.
Properly sealed jars can be stored in the cupboard for 12 months.
Ingredients
Directions
PREPARING GLASS CANNING JARS:
Using a large deep pot check that you jars fit to allow for about 1/2 inch water above.
Bring water to simmer, add your lids for 5 minutes. Remove lids and set aside to dry.
Now bring same water to boil.
Once boiling carefully add your 8 jars without lids, allow to boil for 5 minutes. Remove and set aside to dry.
Now your jars and lids are ready for canning.
REMOVING SKIN FROM PEACHES:
In a large pot bring water to boil.
On each of the peaches cut an X on the bottom. This will help the peeling process later.
Prepare a large bowl with water and ice to create an ice bath.
Once the water is boiled add your peaches. After about 1 minute remove peaches and place immediatey in ice bath.
Now you can remove the skin from each peach easily, starting at the bottom where you made the X cut.
Now that the skin is removed from the peaches, core all your peaches. Take 4 of your peaches and pulse in a food processor allowing some chunks to remain. With the other 6 peaches chop into small pieces.
In a large heavy bottom sauce pan, combine peaches, sugar, honey and lemon juice and let sit 15 minutes and up to 1 hour.
Bring the mixture to a full boil over medium-high heat, stirring occasionally. Reduce heat to medium and allow to simmer about 1 hour, until liquid has reduced significantly, is thick and jelly-like. As the jam begins to thicken you'll want to stir more frequently to prevent burning.
While your jam is hot, carefully ladle jam into your prepared glass jars, leaving about 1/4-1/2 inch from the top. Place the cap and gently screw on the lids, leaving them a little loose.
***I filled 7 1/2 jars with this recipe
Return your large pot of water to boil once more. Once boiling, gently submerge your filled jars making sure there is about 1/2 inch water above and boil for 10 minutes. Remove from boiling water and set aside to cool. You will hear pops as your lids seal. Once cooled, tighten you lids.
NOTE:
To check that your lids have sealed properly, gently press down on the center of the lid. If it pops up and down, its not sealed. If that should happen, just store the jars in the fridge and use within 3 weeks.
Properly sealed jars can be stored in the cupboard for 12 months.
No Comments